KIA Niro: Front pillar trim
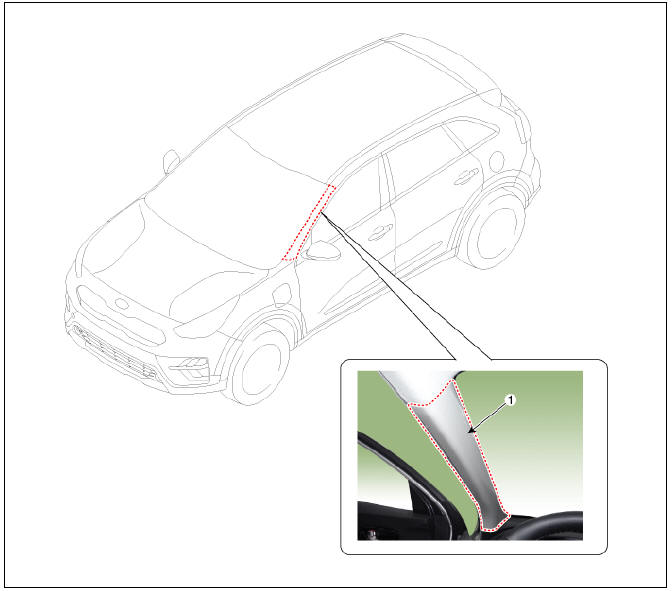
- Front pillar trim
Replacement
Warning
Put on gloves to protect your hands.
Warning
- Use a plastic panel removal tool to remove interior trim pieces without marring the surface.
- Be careful not to bend or scratch the trim and panels.
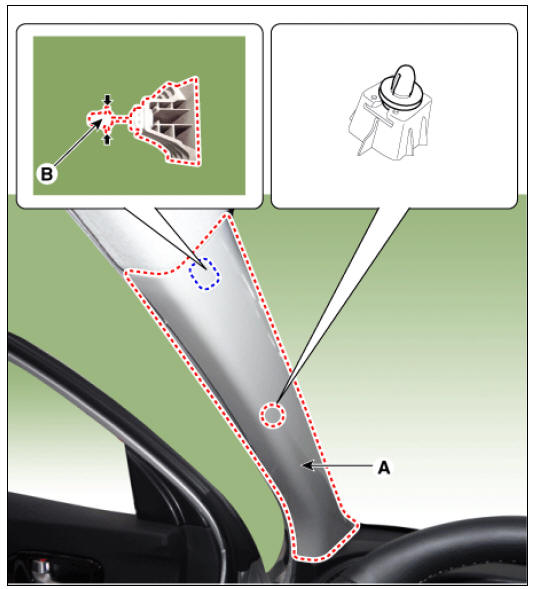
- Using a remover, remove the front pillar trim (A).
- Install in the reverse order of removal.
Warning
- Replace any damaged clips.
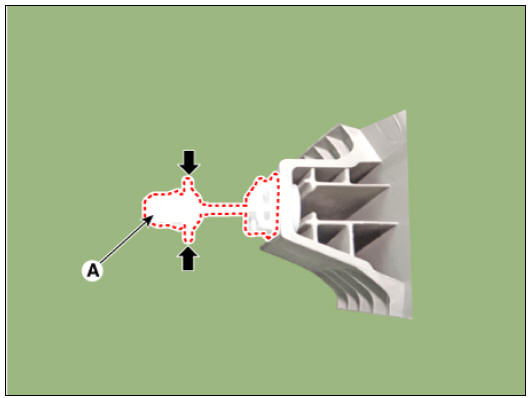
- Once the front pillar trim has been removed, replace the clip (A) with a new one.
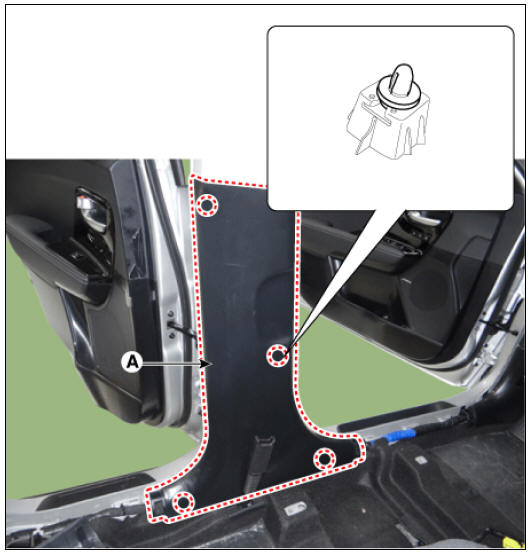
Center pillar trim
Component Location
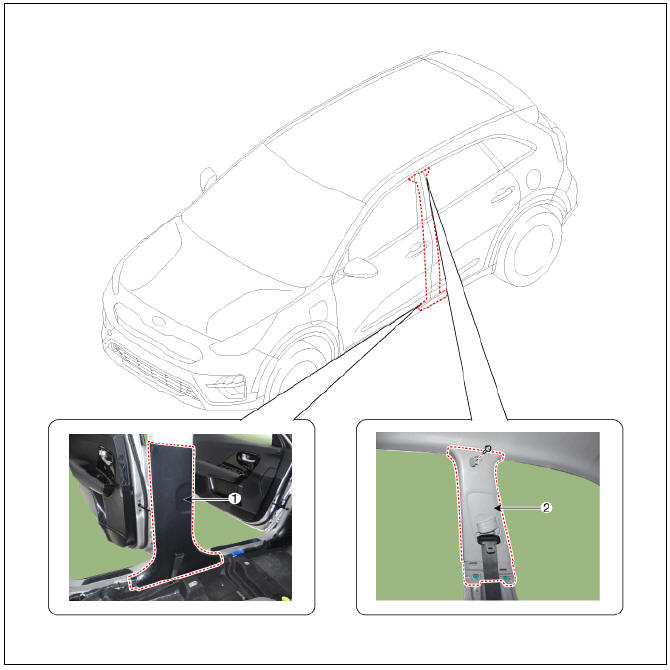
- Center pillar lower trim
- Center pillar upper trim
Replacement
Center pillar lower trim
Warning
Put on gloves to protect your hands.
Warning
- Use a plastic panel removal tool to remove interior trim pieces without marring the surface.
- Be careful not to bend or scratch the trim and panels.
- Remove the front door scuff trim.
(Refer to Interior Trim - "Door Scuff Trim")
- Remove the rear door scuff trim.
(Refer to Interior Trim - "Door Scuff Trim")
- Carefully remove the front door body side weatherstrip.
- Carefully remove the rear door body side weatherstrip.
- Using a remover, remove the center pillar lower trim (A).
- Install in the reverse order of removal.
Warning
- Make sure that the connector is plugged in properly.
- Replace any damaged clips.
Center pillar upper trim
Warning
Put on gloves to protect your hands.
Warning
- Use a plastic panel removal tool to remove interior trim pieces without marring the surface.
- Be careful not to bend or scratch the trim and panels.
- Remove the center pillar lower trim.
- Disconnect the seat belt (B) from the EFD system (A).
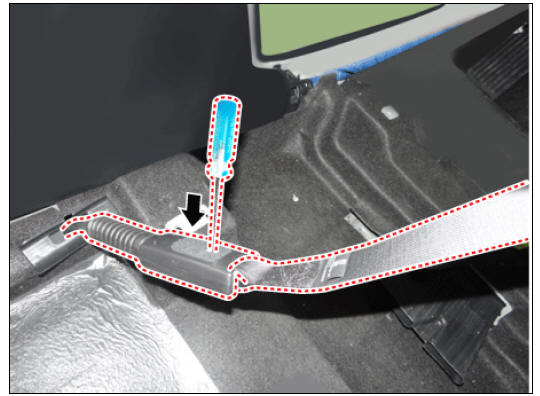
- Remove the center pillar lower trim (A) after loosening the bolt.
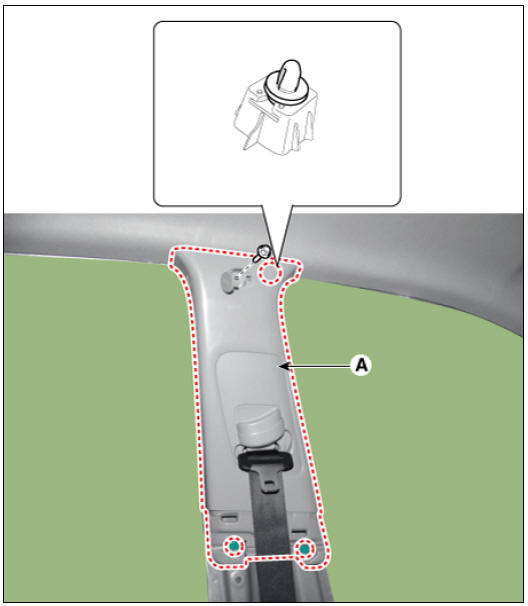
- Install in the reverse order of removal.
Warning
Make sure that the connector is plugged in properly.
READ NEXT:
 Rear transverse trim | Luggage Side Trim Repair procedures
Rear transverse trim
Replacement
Remove the luggage board (A).
Disconnect the tailgate weatherstrip.
Remove the rear transverse trim (A).
Install in the reverse order of removal.
Warning
Make sure that
SEE MORE:
Personal Protective Equipment Inspection
Check that the personal protective equipment is not damaged.
Check that the insulation gloves are not torn or damaged.
Wear the insulation glove after removing moisture.
Warning
Fold the insulation glove as above
Fold again 3~4 times
Cell Monitoring Unit (CMU) Terminal And Input/Output
Signal
System Configuration
Connector Type
Terminal Function
Cell Monitoring Unit (CMU) #1 (Sub Voltage Battery Pack Assembly)
Connector (B01-A) (16Pin) : High Voltage Battery control
Connector (B01-C) (12Pin) : High Voltage Battery Cel
Categories
- Home
- KIA Niro EV, Hybrid - Second generation - (SG2) (2021-2024) - Owner's manual
- Kia Niro - First generation - (DE) (2017-2022) - Service and Repair Manual
- Contact Us