
KIA Niro: Rear Door Window Glass
Kia Niro - First generation - (DE) (2017-2022) - Service and Repair Manual / Body (Interior And Exterior) / Rear Door / Rear Door Window Glass
Rear Door Window Glass Components and components location
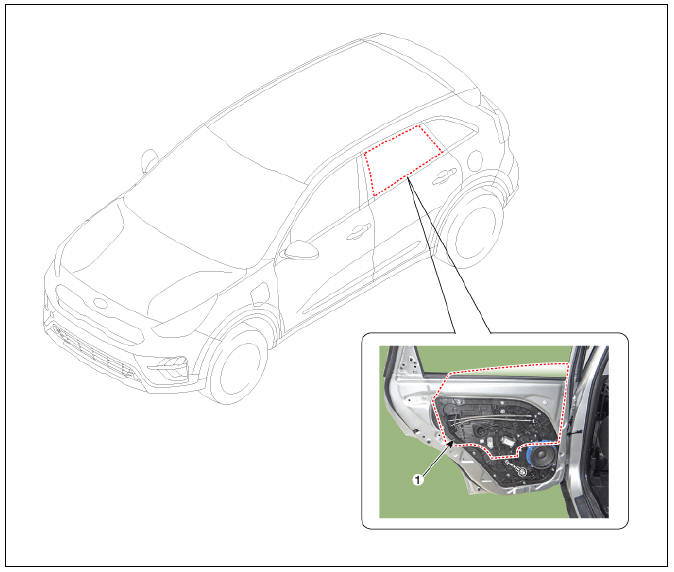
- Rear door window glass
Rear Door Window Glass Repair procedures
Replacement
- Remove the rear door trim.
(Refer to Rear Door - "Rear Door Trim")
- Remove the rear door belt inside weatherstrip (A).
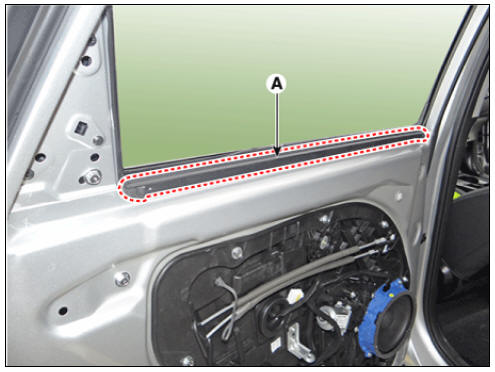
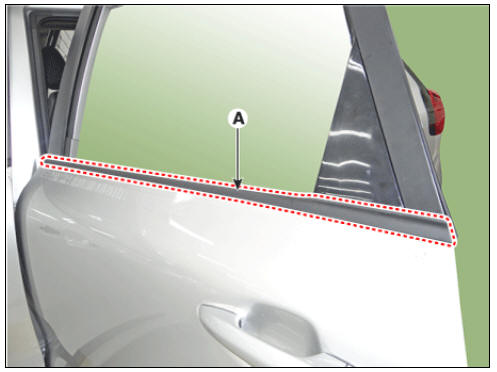
- Remove the rear door belt outside weatherstrip (A).
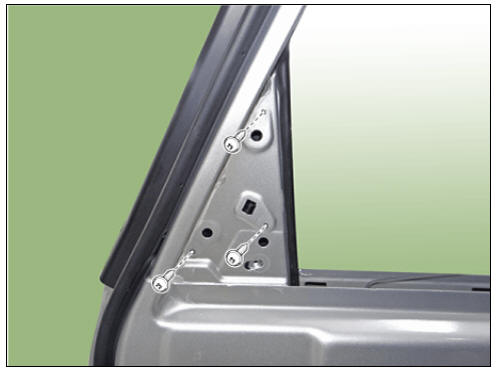
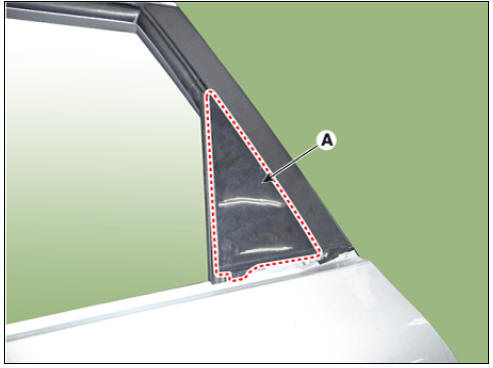
- Remove the rear door delta garnish (A) after loosening the screws.
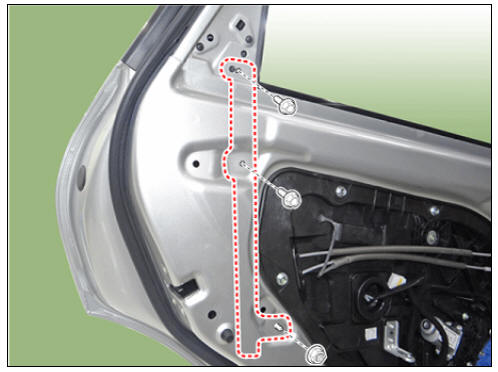
- Loosen the rear door channel mounting bolts & nut.
Tightening torque : 7.8 - 11.8 N.m (0.8 - 1.2 kgf.m, 5.8 - 8.7 lb-ft)
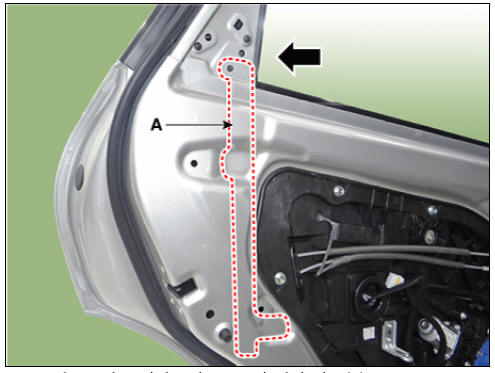
- Slightly push the rear door channel in the direction of the arrow as shown below.
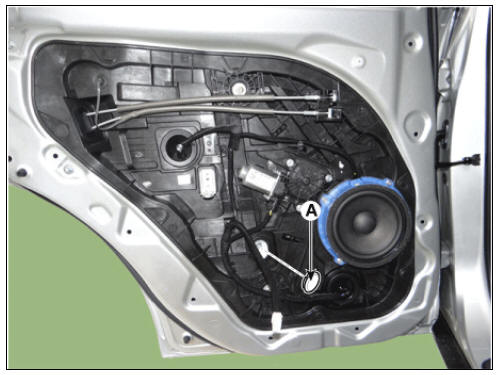
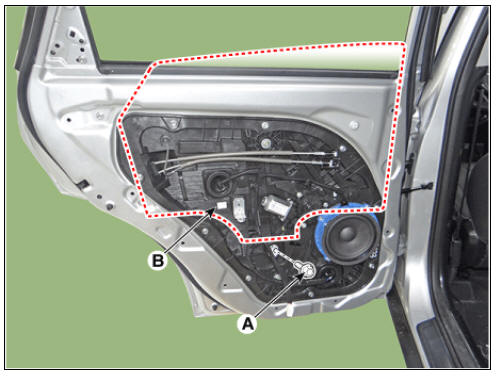
- Remove the rear door window glass mounting hole plug (A).
- Carefully adjust the rear door window glass (A) until the bolts are visible, and then loosen them.
- Remove the window glass (B) after loosening the bolt (A).
Tightening torque : 7.8 - 11.8 N*m (0.8 - 1.2 kgf*m, 5.8 - 8.7 lb*ft)
Warning
Be careful not to drop the glass and/or scratch the glass surface.
Warning
- Use the door switch to align the mounting hole/bolt with the hole in the door.
- If the window motor cannot be operated, remove the motor and align the hole by hand.
- Install in the reverse order of removal.
Warning
- Roll the glass up and down to see if it moves freely without binding.
- Adjust glass position as needed.
- Make sure that the door locks and opens properly.
- Replace any damaged clips.
READ NEXT:
 Rear Door Module
Rear door module
Replacement
Remove the rear door window glass.
(Refer to Rear Door - "Rear Door Window Glass")
Remove the rear door channel (A) after loosening the mounting bolts and
nut.
Tightening torque :
Bolt :
Rear Door Outside Handle | Rear Door Latch
Rear door outside handle
Replacement
Remove the rear door trim.
(Refer to Rear Door - "Rear Door Trim")
Remove the rear door outside handle cover (A) after loosening the mounting bolt.
Tightening torqu
SEE MORE:
Front pillar trim
Front pillar trim
Replacement
Warning
Put on gloves to protect your hands.
Warning
Use a plastic panel removal tool to remove interior trim pieces without marring the surface.
Be careful not to bend or scratch the trim and
LCD display messages
V2L finished. Defined charge level reached
A: V2L finished. Defined charge level
reached
When the high voltage battery level
reaches the discharging limit set level,
the V2L will stop and the warning will be
displayed. If you want to use th
Categories
- Home
- KIA Niro EV, Hybrid - Second generation - (SG2) (2021-2024) - Owner's manual
- Kia Niro - First generation - (DE) (2017-2022) - Service and Repair Manual
- Contact Us
