KIA Niro: Waist Line Molding Repair procedures
Kia Niro - First generation - (DE) (2017-2022) - Service and Repair Manual / Body (Interior And Exterior) / Body Side Molding / Waist Line Molding Repair procedures
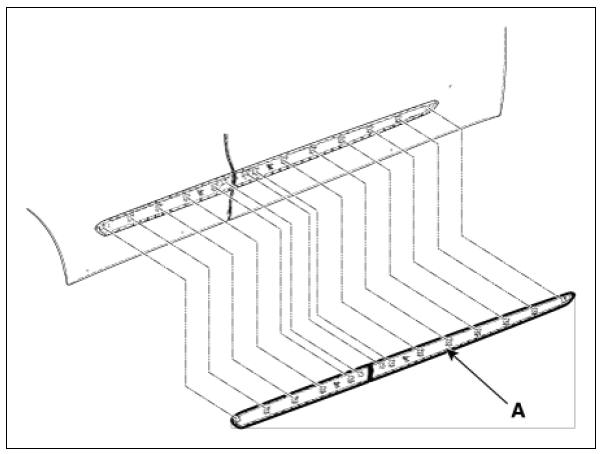
Replacement
Warning
Put on gloves to protect your hands.
Warning
- Use a plastic panel removal tool to remove interior trim pieces without marring the surface.
- Be careful not to bend or scratch the trim and panels.
- Using a remover, remove the waist line molding (A).
- Install in the reverse order of removal
Warning
Replace any damaged clips.
Side Sill Molding Repair procedures
Replacement
Warning
Put on gloves to protect your hands.
Warning
- Use a plastic panel removal tool to remove interior trim pieces without marring the surface.
- Be careful not to bend or scratch the trim and panels.
- Loosen the side sill molding mounting screws.
- Using a remover, remove the side sill molding (A).

- Install in the reverse order of removal.
Warning
Replace any damaged clips.
READ NEXT:
 Cowl Top Cover
Cowl Top Cover / Components And Components Location
Cowl top cover
Cowl Top Cover / Repair Procedures
Replacement
Warning
Put on gloves to protect your hands.
Warning
Use a plastic panel removal tool to remove interior trim pieces
Cluster Fascia Panel | Center Fascia Panel
Cluster Fascia Panel Components and components location
Cluster fascia panel assembly
Cluster Fascia Panel Repair procedures
Replacement
Warning
Put on gloves to protect your hands.
Warning
Use a plastic panel removal tool to r
SEE MORE:
Suitability of each seating position for belted & ISOFIX Child Restraint Systems according to UN regulations for Latin America (Information for use by vehicle users and CRS manufacturers)
Yes: Suitable for fitment of the designated category of CRS
No: Not suitable for fitment of the designated category of CRS
"-": Not applicable
The table is based on LHD vehicle. Except for the front passenger seat,
the table is
Wireless smart phone charging system
Indicator
Charging pad
Operation
Place the smartphone at the center of
the wireless charging pad.
The indicator light will change to
orange once the wireless charging
begins. The light will change to green
when charging is c
Categories
- Home
- KIA Niro EV, Hybrid - Second generation - (SG2) (2021-2024) - Owner's manual
- Kia Niro - First generation - (DE) (2017-2022) - Service and Repair Manual
- Contact Us