KIA Niro: Parking Brake Cable Repair procedures
Kia Niro - First generation - (DE) (2017-2022) - Service and Repair Manual / Brake System / Parking Brake System / Parking Brake Cable Repair procedures
Removal
- Turn ignition switch OFF and disconnect the negative (-) battery terminal.
- Remove the crash pad lower panel.
(Refer to Body - "Crash Pad")
- Remove the knee air bag.
(Refer to Restraint - "Knee Airbag(KAB) Module")
- Remove the junction box.
(Refer to Body Electrical System -"Fuses And Relays")
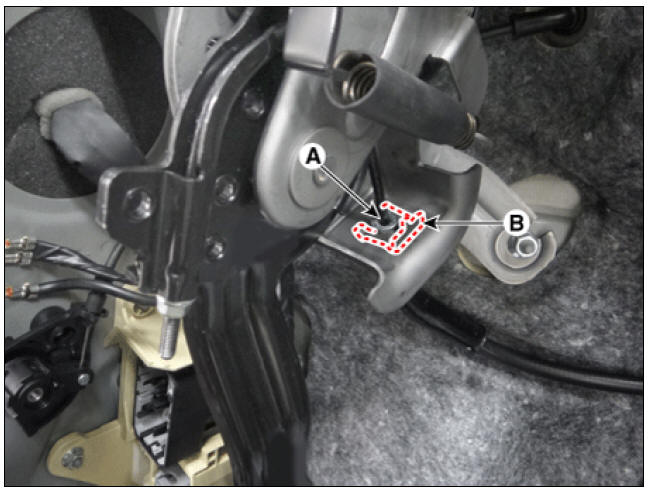
- Remove the cable nut (A) and clip (B) and then remove the cable from the parking brake pedal.
- Remove the floor console assembly.
(Refer to body - "Floor Console Assembly")
- Remove the axle pedal.
(Refer to Engine Control / Fuel System - "Accelerator Position Sensor (APS)")
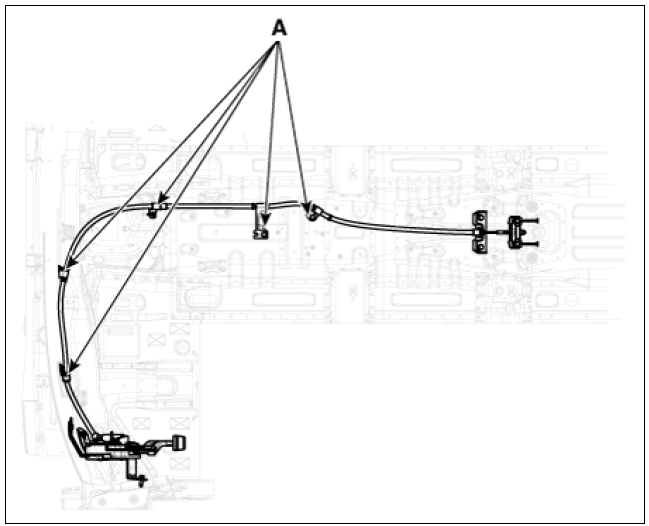
- Loosen the parking brake cable nuts (A).
Tightening torque : 3.9 - 5.9 N*m (0.4 - 0.6 kgf*m, 2.9 - 4.3 lb*ft)
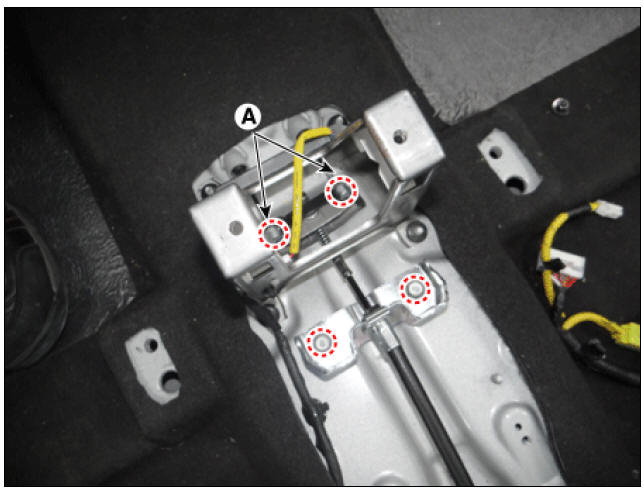
- Loosen the cable bracket bolt and then remove the cable from the equalizer assembly.
Tightening torque : 19.6 - 29.4 N*m (2.0 - 3.0 kgf*m, 14.5 - 21.7 lb*ft)
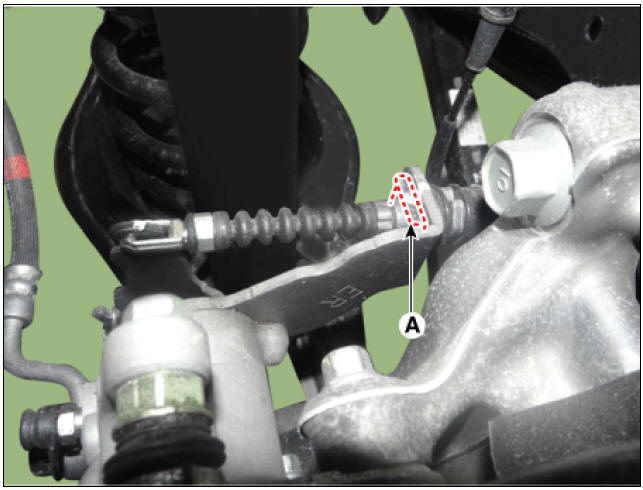
- Remove the parking brake cable pin (A).
- Rotates the nut (A) in the counterclockwise direction and then remove the parking cable.
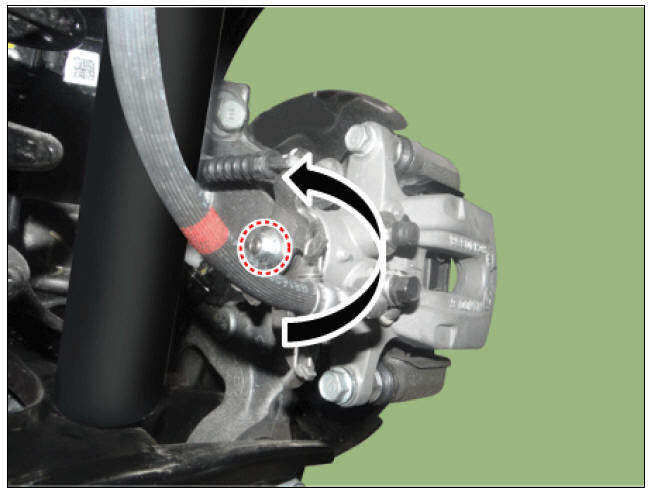
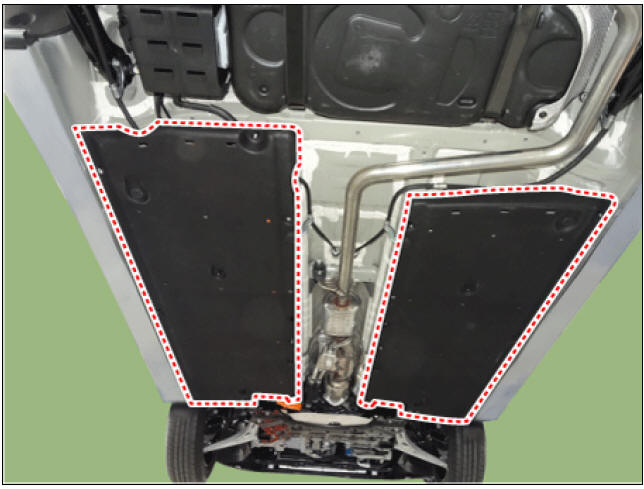
- Remove the under cover.
- Loosen the parking cable bolt and then remove the parking brake cable.
Tightening torque : 8.8 - 13.7 N*m (0.9 - 1.4 kgf*m, 6.5 - 10.1 lb*ft)
- Installation is the reverse of removal.
READ NEXT:
 Electric parking brake / Description And Operation
Description
The EPB is an electronic parking brake.
The EPB is different from existing parking systems which operated with the brake
pedal or the lever
type. The EPB system sends the signal to the ECU when a driver operates the EPB
switch. T
Electric parking brake control
Electric parking brake control module
EPB switch
EPB actuator
Removal and Installation
EPB Actuator
Turn ignition switch off and disconnect the battery (-) cable from the
battery.
Remove the rear caliper.
(Refer to Brake Sys
SEE MORE:
Crankshaft Position Sensor (CKPS)
Specification
Crankshaft Position Sensor (CKPS) Description and operation
Description
Crankshaft Position Sensor (CKPS) is one of the most important sensors of the
engine control system
that detects the crankshaft position. Lack of CKPS sig
Connector Inspection Procedure
Handling of Connector
a. Never pull on the wiring harness when disconnecting connectors.
b. When removing the connector with a lock, press or pull locking lever.
c. Listen for a click when locking connectors. This sound indicates that
Categories
- Home
- KIA Niro EV, Hybrid - Second generation - (SG2) (2021-2024) - Owner's manual
- Kia Niro - First generation - (DE) (2017-2022) - Service and Repair Manual
- Contact Us